How to Use Google’s Find My Device on a Web Browser
The following instructions provide a step by step tutorial on how to access and use the features of Google’s Find My Device on a Web Browser. These features will allow you to locate a missing/stolen device and secure the device; allowing you to protect customer data and other sensitive information on the device.
NOTE: Google’s Find My Device app should already be installed on your IDVisor Smart Device before using the features. To learn How to Install Google’s Find My Device app on a Smart Device click here.
Note: Write down and save the google account address or password used on your ID Scanner, especially for the find my device feature. The device may be permanently locked if the google account or pin code is lost. If you hire an IT firm to set this up, make sure they share this information.
The following instructions will show you how to use the Find My Device app from a Web Browser. You can however, use the Find My Device app from a Smart Phone as well. For a video tutorial see Google Play Protect’s Find My Device Youtube video here.
The following items below are required to use the “Find My Device” feature:
- An IDVisor Smart device with “Find My Device” previously installed – Learn How to Install and Use “Find My Device” on an IDVisor Smart Device Here.
- Wifi Connection – Learn How to Connect to Wifi on an IDVisor Smart Device here.
- A Google Account – Learn How to Create a Google Account on an IDVisor Smart, Smart V2, and Smart Plus Here.
- A separate device such as a PC/Tablet/Android Phone with internet connectivity.
Note: We DO NOT recommend using a personal or business Google account on your IDVisor Smart device for security reasons. We recommend creating a Google Account specifically for your Smart device.
Accessing Google Find My Device on a Web Browser

Open an internet browser on your computer. We will be using Google Chrome in our provided screenshots. Once the browser has been opened visit https://android.com/find.

Enter the Username of the Google Account that is signed in on the IDVisor Smart device. After entering the username select Next.

Enter the Password of the Google account signed in on the IDVisor Smart device. After entering the password, select Next.

After signing in, you will be taken to the Google Find My Device homepage.
On the Find My Device homepage, you can determine the location of you device by looking where the Find My Device icon is located. There are 3 features you can use in order to locate you missing device, or protect the information on the device; Play Sound, Secure Device, and Erase Device.
Play Sound Feature

The Play Sound feature can be used to locate a device which was misplaced in the workplace it was being used in such as the bar, restaurant, dispensary, etc.
The Play Sound feature plays a loud tone on your phone for 5 minutes at full volume even if you have the ringer turned off.

Once the device has been found, you can press the power button on the IDVisor Smart device to stop the sound from playing, or you can click the Stop Ringing option from the Find My Device website.
Secure Device Feature
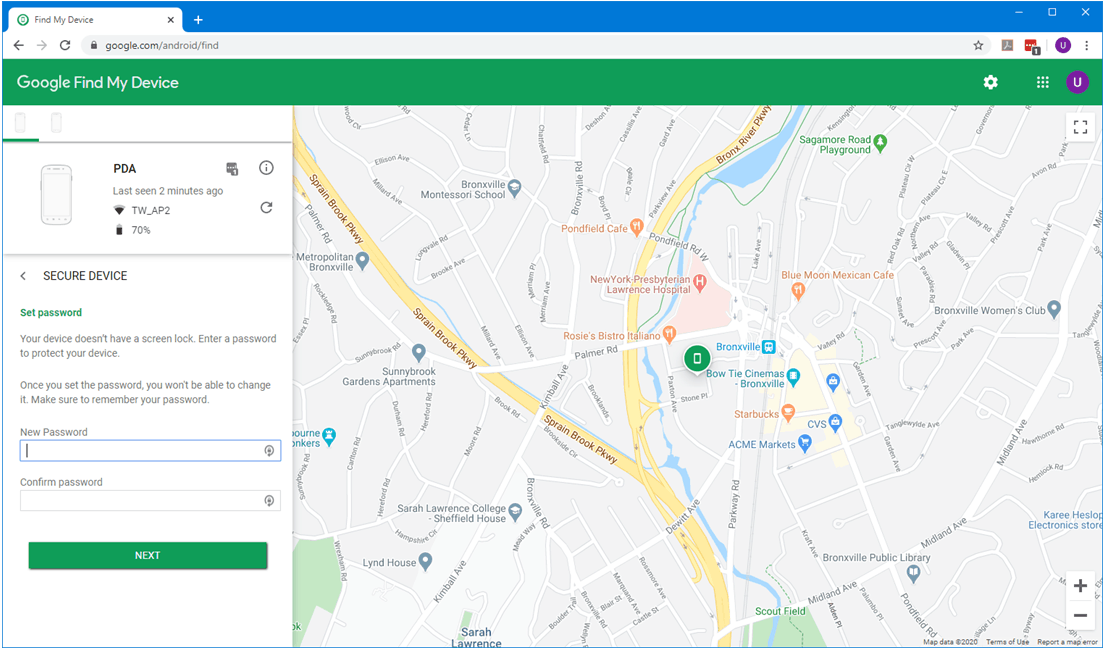
Our IDVisor Smart devices do not come with any lock screen password to enter the device. If you are certain your IDVisor Smart device is lost or has been stolen, you can use the Secure Device feature to set an on-screen password to lock the device. With this feature you will be able to protect customer information and any other sensitive information that may be contained on the device.
To lock the device by using the Secure Device feature, simply click on Secure Device.
On the following page you will be asked to enter a New Password, and to Confirm your Password. NOTE: This password WILL NOT be able to be changed, please keep a record of this password in a safe location.
Select Next after entering the password.

After entering your on-screen password, you will be able to provide a Recovery Message that will display on the missing device. This Recovery message can be anything such as “Please Call (Business Name) at xxx-xxx-xxxx to return scanner” or “Return stolen device or we will call the authorities”.
We do not provide a Sim Card with any of our IDVisor Smart devices. Adding an optional phone number will not work unless a Sim Card is installed on the device. If you do have a Sim Card installed on the device you can add an optional Phone Number, this will allow the person who has the missing device the ability to call you directly from the device.
Since we do provide Sim Cards in the devices and believe most customers will not add Sim Cards in the devices, we recommend adding the business or phone number you wish to be contacted at in the Recovery Message box.

The above screenshot shows what will be visible to the person who currently has the missing device.
Erase Device Feature
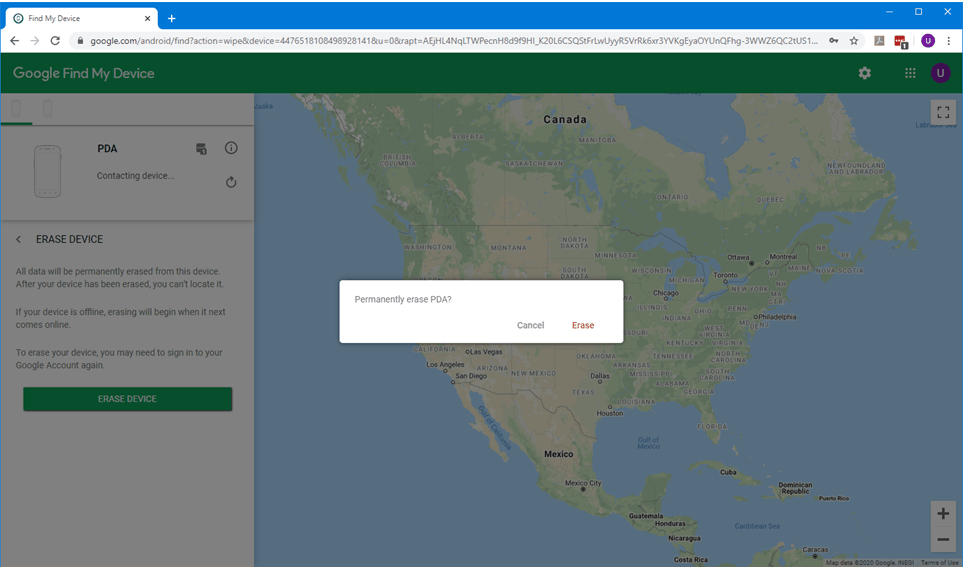
The final feature you are able to use is the Erase the device feature. This will permanently delete all information and data stored on the device, restoring the device to factory settings. We recommend using this feature as a final resort option if you’re unable to locate the device or get in to any form of contact with the person who has the device.
When you select Erase Device, you will be asked to sign in to the Google account being used on Find My Device once more.
After you’ve signed in again, you will be asked if you want the Permanently Erase PDA. By selecting Yes, you will factory reset the device.

The device will no longer contain any of the previous information and will be factory reset.
If you are ever able to retrieve the missing IDVisor Smart device again in the future, you can open a support ticket here to contact support for further instructions on how to re-install the app.
For a video tutorial see Google Play Protect’s Find My Device Youtube video here.