Creating a Google Account on an IDVisor Smart, Smart V2, and Smart Plus
A Google account will be needed on the device if you would like to use features such as wireless exporting sending extracted customer data via gmail, and/or if you would like to set up Google’s Find My Device feature on a Smart device in case it becomes lost or stolen. We DO NOT recommend using a personal or business Google account on your IDVisor Smart device for security reasons. We recommend creating a Google Account specifically for your Smart device.
Note: Write down and save the google account address or password used on your ID Scanner, especially for the find my device feature. The device may be permanently locked if the google account or pin code is lost. If you hire an IT firm to set this up, make sure they share this information.
The steps below provide instructions on how create a Google account on your Smart device.
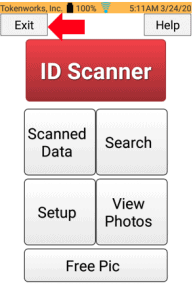
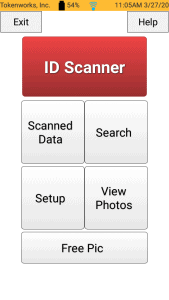
Step 1: We will begin by exiting the IDVisor Smart app. Select Exit to exit the application.
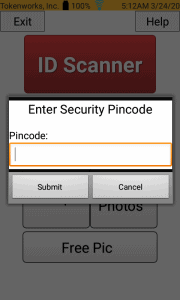
Step 2: After selecting Exit, you will be required to enter the pincode for your IDVisor Smart app. If the pincode was never changed it will be the default pincode (refer to your IDVisor Smart user manual for pincode).
Enter your pincode then select Submit.

Step 3: Once you’ve exited the app, you’ll be taken to the Android home screen.
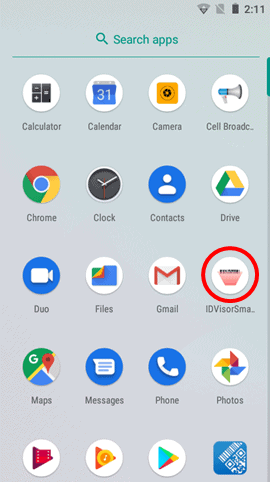
Swipe Up from the arrow above the IDVisor Smart app icon on the home screen to access the list of apps.

Step 4: Look for the Settings app on the apps page.
Once found, tap on the Settings app to open.
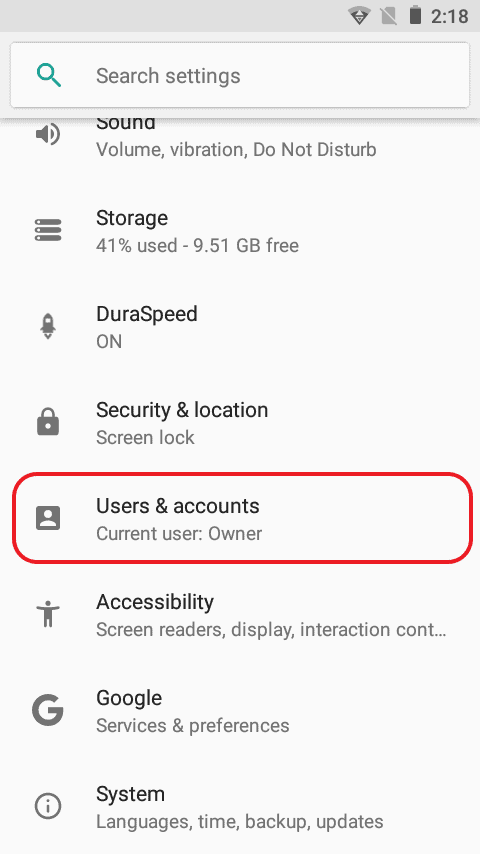
Step 5 : Once in the Settings menu, scroll down to find User & accounts.
Tap Users & accounts to view it’s settings.

Step 6: Once in the Users & accounts settings, look for Account for Owner.
Under Accounts for Owner select Add account.
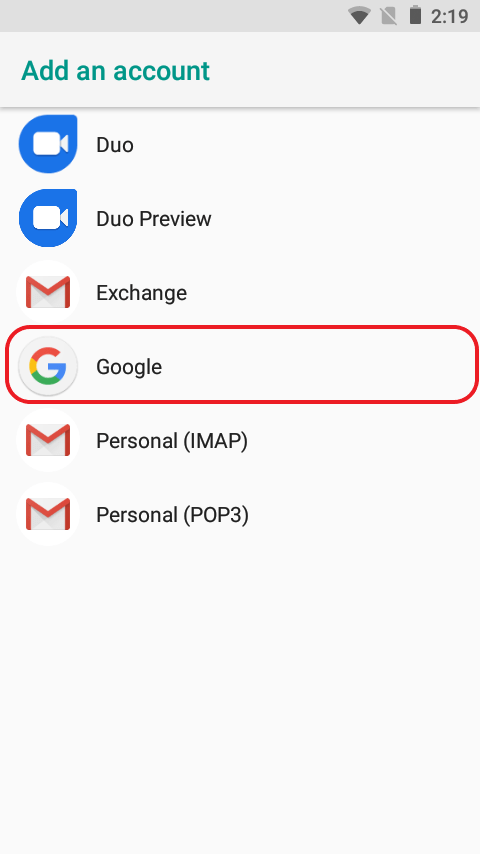
Step 7: Once in the Add an account settings, select Google.
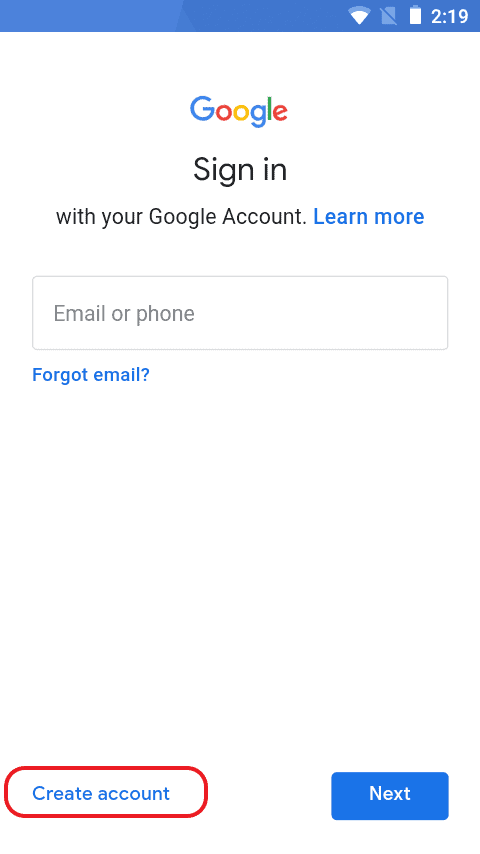
Step 8: When Google is selected, you will be taken to the Google Sign in page. Remember for our purpose of protecting your information we will be creating a new account.
Look for and tap Create account in the bottom left hand corner of the screen.

Step 9: After selecting Create account, you will now enter your First and Last name for the account.

Step 10: After entering your First and Last name. You will now create Gmail address for your Google account.
We recommend using a generic Username for your Google account such as the name of your business + IDScanner.
Ex: Joesbaridscanner@gmail.com
Select Next after creating your username for the account.

Step 11: After you have created a username for you Google account. You will now create a password for your account.
Tip: Tap the eye icon next to password, to visibly see and confirm the password you’ve created was entered correctly.
After creating your password select Next.

Step 12: After selecting Next, you will be asked if you would like to Add a Phone Number.
Scroll down to the bottom of the page and select Skip as we will not need to use this feature.

Step 13: Once Add a phone number is skipped you will be taken to the Review your account info page.
Ensure you information you previously entered is correct.
Once confirmed select Next.
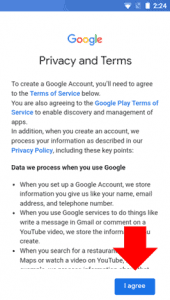
Step 14: After selecting Next you will be taken to the Privacy and Terms page. Review the Google Privacy and Terms page.
Continue scrolling down to review the Privacy and Terms.
Once fully reviewed select I agree.

Step 15: After you’ve agreed to Google’s Privacy and Terms, Google will check the info provided and begin creating your account.
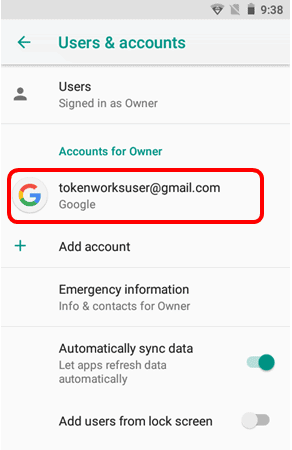
Step 16: After your info has been checked and confirmed, you will now see your Google Account shown under Accounts for Owner.
You’ve now successfully created a Google account for you IDVisor Smart device.
After confirming you see your account, hit the back arrow next to Users & accounts, to return to the Settings, then click the back button on the physical keyboard to return to the page of apps.
Once returned to the page of apps. Select the IDVisor Smart app to return to the IDVisor Smart home screen.
You have now successfully created a Google Account for your Smart device and have returned to the IDVisor Smart app home screen.