Communications Time Out Error
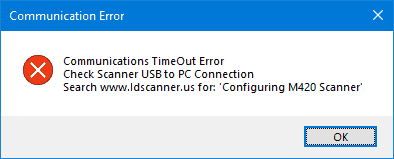
Issue: When trying to reconnect your M420/M430 Barcode reader to the AgeVisor software you receive a POS Barcode M420/M430 Communications Timeout Error.
Solution 1: Updating the Driver
If you received an error, while following the steps above, stating: “Scanner Problem, Check FM420 Connection status” then the scanner is not properly communicating with the computer. Updating the device drivers can sometimes can resolve this issue.
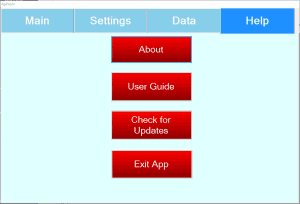
Step 1: To update the device drivers you will need to first exit the AgeVisor Touch application.
Click on the Help tab and then click Exit App.
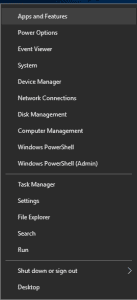
Step 2: From the Windows Desktop, press and hold the Windows icon in the bottom-left corner for 3 seconds.
If you are using a mouse, you are able to right-click the Windows icon. You should see the menu shown below:
Choose Device Manager from this menu.
In Device Manager you will see a list. In the list, you should see one item label “POS Barcode Scanner”.
Click the small arrow to the left of POS Barcode scanner to show the item listed POS HID Barcode scanner. Click POS HID Barcode scanner to highlight it.
Note: If you do not see POS Barcode Scanner listed in the Device Manager, please proceed to the step below.
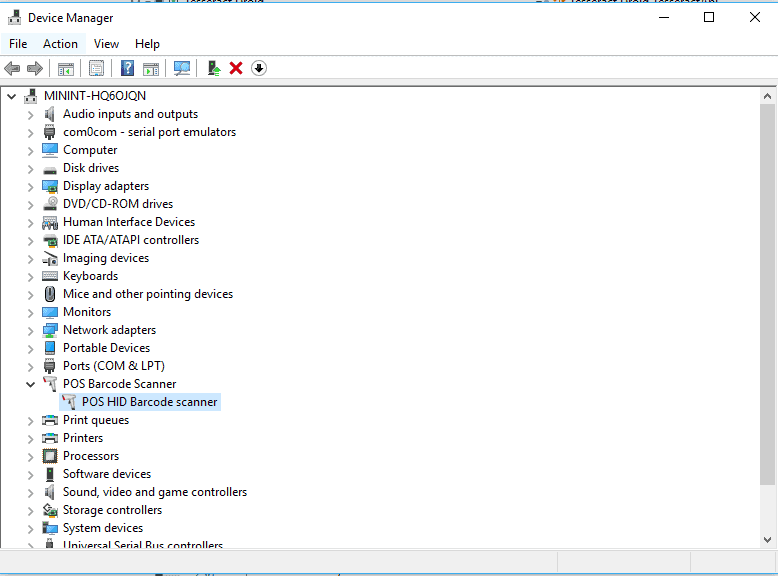

Step 3: Click Action in the menu at the top and select Update driver.
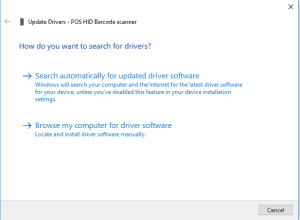
From the window that appears click “Browse my computer for driver software”:
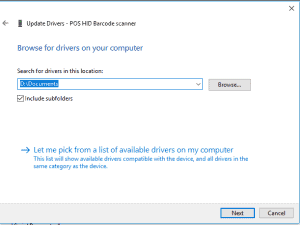
Select “Let me pick from a list of available drivers on my computer” from the window below:
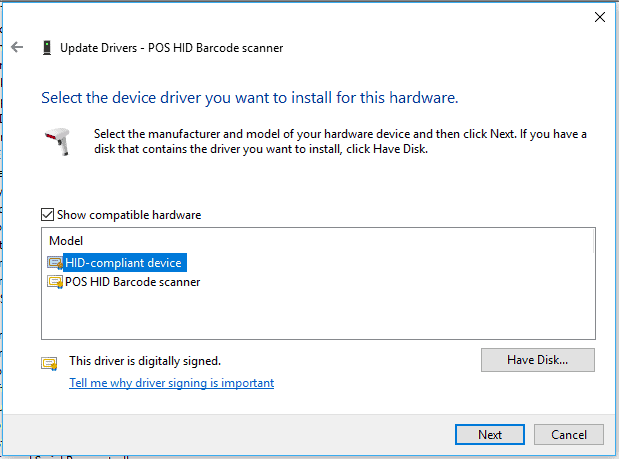
Select HID-compliant device from the list and press Next.
You should now receive a confirmation message saying that Windows has successfully updated your drivers.

The scanner is almost ready to use. Follow the steps in the link below to confirm that the scanner is configured with the AgeVisor Touch Application successfully.
If the steps below do not resolve the issue, please proceed to the 2nd solution below.
Solution 2: Removing the Back Plate on the AgeVisor Touch
NOTE: If you are not comfortable performing the steps below, please do not proceed and click here to open a support ticket for further assistance.
Tools Needed:
Philips PH1 Screwdriver
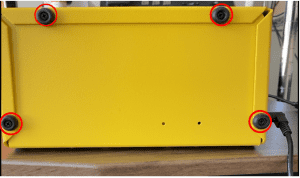
Step 1: Remove screws with the rubber feet connecting the back plate shown in the red circle.
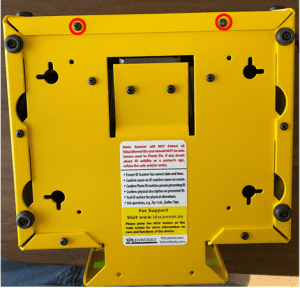
Step 2: Unscrew the bottom screws of the back plate shown in the red circle.
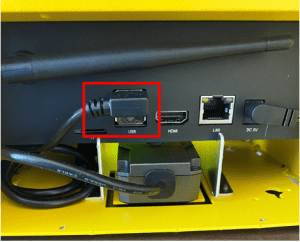
Step 3: Look for the USB connections on the back of the device once the plate is removed (devices with magnetic stripe and barcode will have two connections). Unplug the connections and plug them back in.
After plugging the connections back in, try reconnecting the scanner to the AgeVisor Touch software and try scanning again.
If after attempting these steps you are still unable to resolve your issue please create a support ticket leaving your Name, Business name, Phone, and email address here.