These Instructions are for the x32 and x64 bit Installation of Palm Desktop on Windows 10:
___ First Download PalmDesktopWin62 (here)
Note: This installation file is also on the Cardvisor Disk Included with the Z22 Scanners.
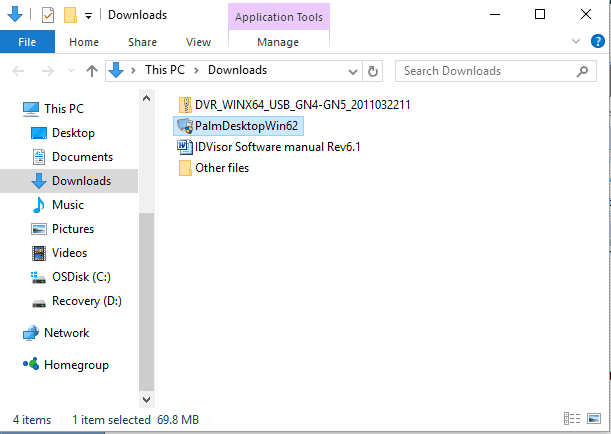
___Launch PalmDesktopWin62.exe from the directory that it was downloaded to, your PC will launch the installation screens below.

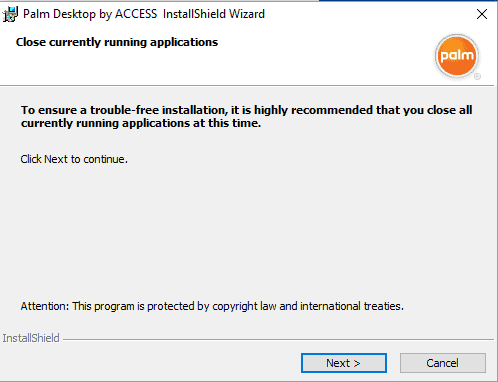
___ As suggested in the dialog box above, close all currently running applications.
___ Click Next.
___ Read the license agreement below.
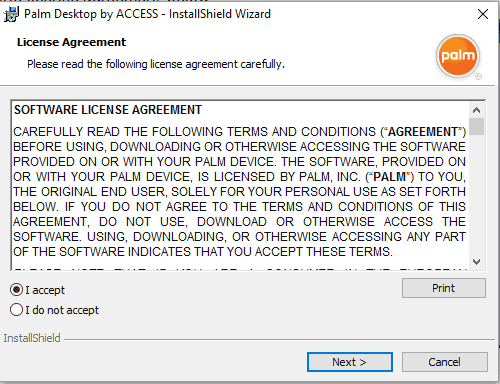
___ Click the radio button that says I accept these terms.
(Without your acceptance, the Palm software will not install.)
___ Click Next to continue installation.
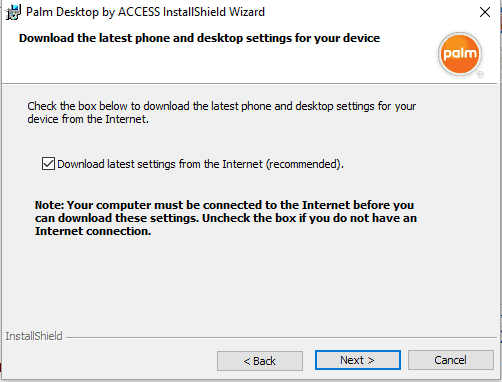
___ Uncheck the Download latest settings… (unless you want to receive Palm’s marketing materials).
___ Click Next
___ Notice the Install Location shown in the dialog box below.
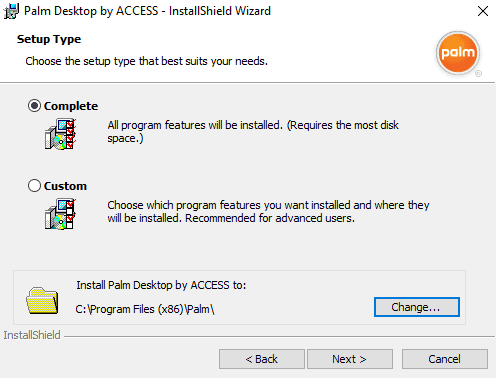
___ Click Next to accept the default Install Location shown above.
Note: First-time installs will default to C:\Program Files (x86)\Palm.
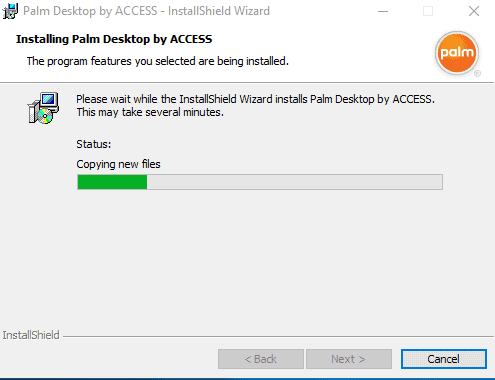
The install process will begin as shown below.
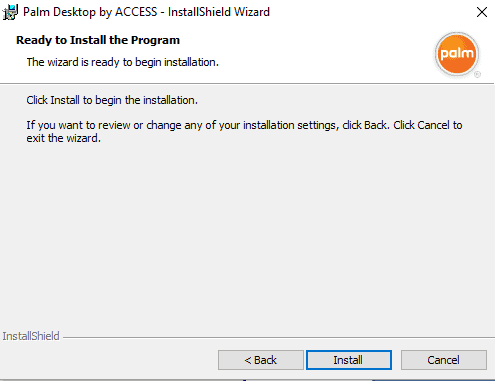
___Click Install
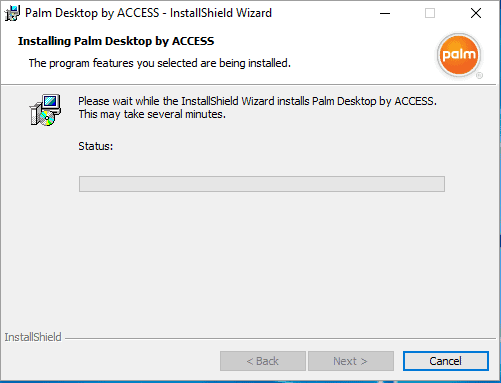
___ Notice that the green progress indicator moves to the right until the Palm software installation is complete.
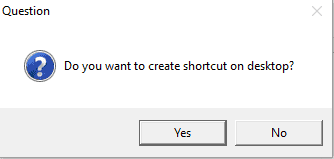
___ Toward the end of the installation the prompt below will appear. Click Yes if you would like a shortcut on your desktop. If not Click No and the installation will proceed.
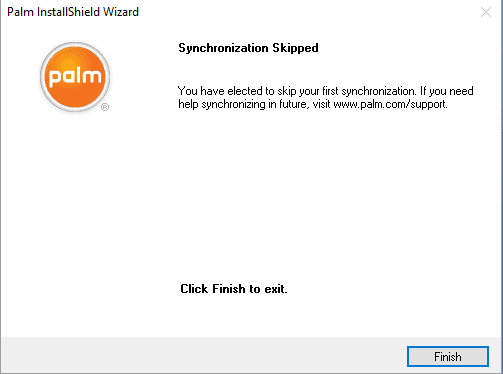
___ Click Finish to complete the software installation.
Synchronize your ID Scanner with your computer
The next steps will show you how to connect or HotSync your ID Scanner with your PC.
___ Click Next to synchronize your ID Scanner with your PC. You will see the following dialog box.
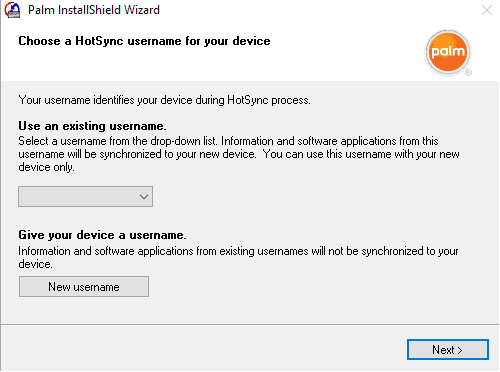
___ Click Create new user name.
Note: If this is a brand-new install, you will need to create a new name to get past this screen. However, whatever name you type won’t be used because your IDVisor® ID scanner will already have a HotSync name of IDVisor4 or a 4 digit number.
When you click Create new user name, you will see the following dialog box.
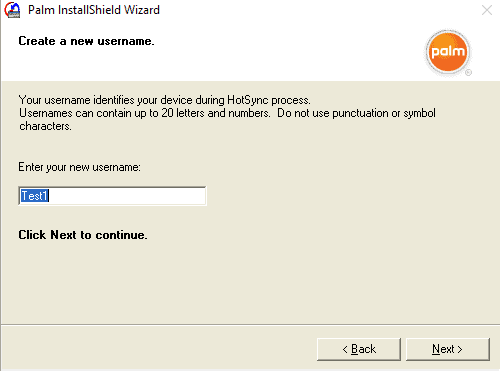
___ Enter any new username. (Note: This username can only be a maximum of 5 letters long.)
___ Click Next.
If you have Microsoft Outlook installed on your PC, the following dialog box will display. This dialog box will help you specify your preference for the HotSync process.
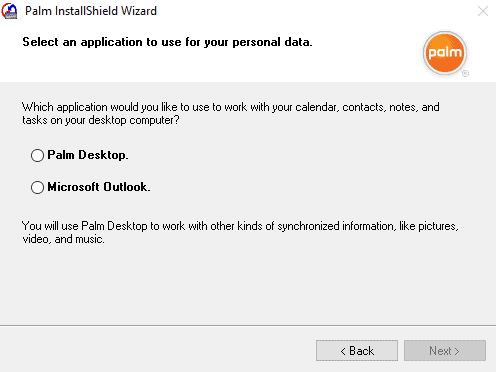
___ Do NOT click the bottom radio button (Synchronize your device with both Outlook and Palm Desktop software) at this point.
Here’s why: If you select Outlook, your card-swipe data will be stored in Outlook where it is difficult to export to Excel. If you have accidentally used the Outlook option, see instructions at How to Reinstall the CardVisor Software.
___ Instead, click the top radio button Synchronize your device with Palm Desktop software.
___ Click Next.
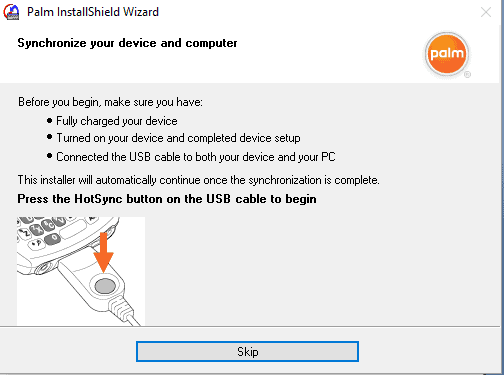
You will then see the following dialog box to sync your ID Scanner and your PC.
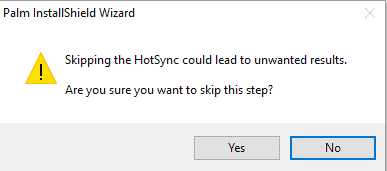
___The Prompt below will appear. Click Yes.
___ The Screen below will appear upon Clicking Yes.
___ Click Finish.
___ Verify that you see the HotSync Icon in the bottom right corner of the PC screen (red/blue circular icon).
___ Connect the HotSync Cable between your ID Scanner’s USB port and your computer.
___ Look for a “new device found” message on your computer. You will likely hear a “da-dunk” sound if your speakers are on. (If your computer doesn’t recognize the device, try disconnecting and reconnecting the USB cable.)
___ Tap the HotSync Button on your ID Scanner (see the illustration in the dialog box above). You should hear a high pitched chirp from the ID scanner.
___ Check the bottom right-hand corner of your computer screen for possible messages about finding a new device and installing the driver.
Mode Compatibility:
Our testing shows this version of Palm Desktop works with the default compatibility settings shown in the image below.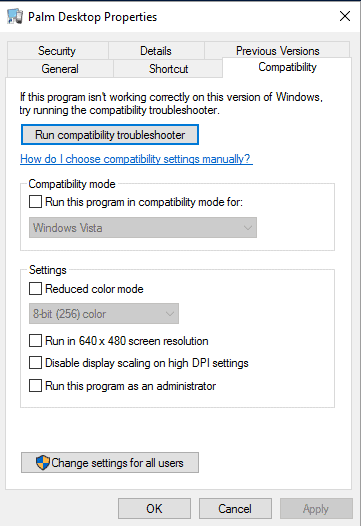
x64 Only Instructions:
If running a 64-bit version of Windows (Home Premium, Professional, Enterprise), then install the Palm Desktop 6.22 and then install the 64-bit version of the Palm USB driver. To see if you’re running Windows 10 64-bit, right click the Windows icon. A menu will pop up – select system. In the system window look for System type, it will say Windows 10 64-bit or 32-bit.