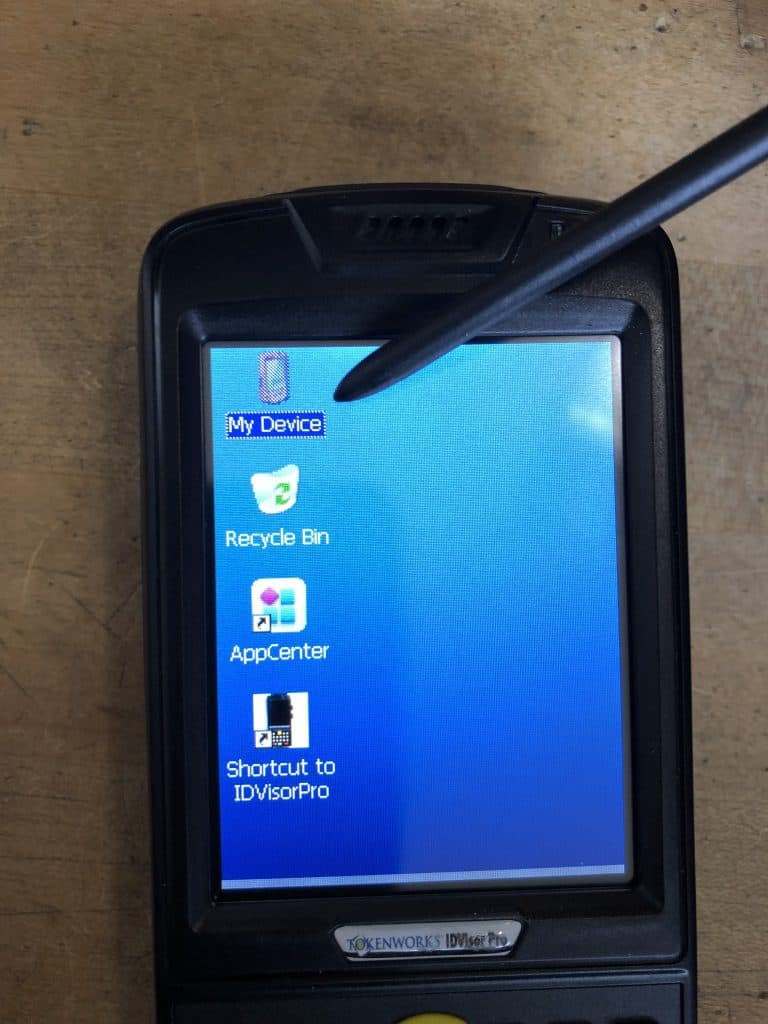
Please follow these troubleshooting steps when encountering a DB Verification Error or Storage Card error on your IDVisor Pro. When this error occurs the program will continuously try to load the software but will fail to due a corrupt or deleted database. After a number of attempts the program will stop trying to load and take you back to the screen shown below.
1. When the IDVisor Pro software stops trying to load, it should take you back to a blue screen with My Device as an option. Double tap My Device to bring up some more available content.
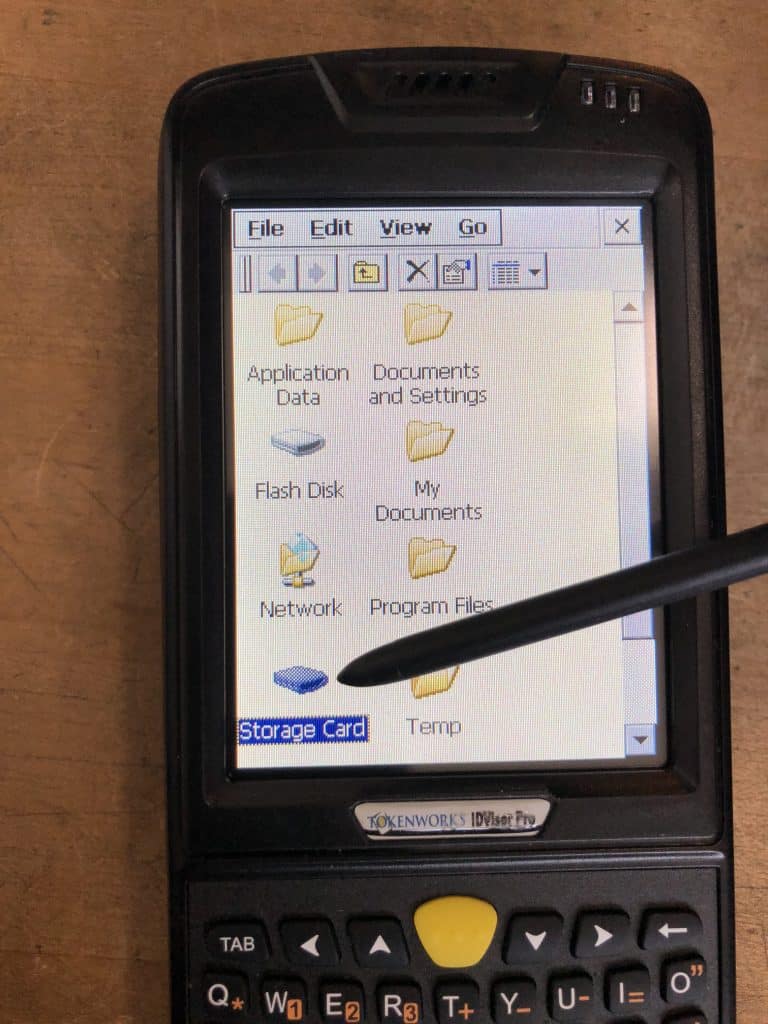
2. In My Device scroll down to Storage Card. Double tap Storage Card to bring up it’s content. You will then see a folder called Backup which you will double tap to open. Once you are in the Backup folder, please sort the content by details.
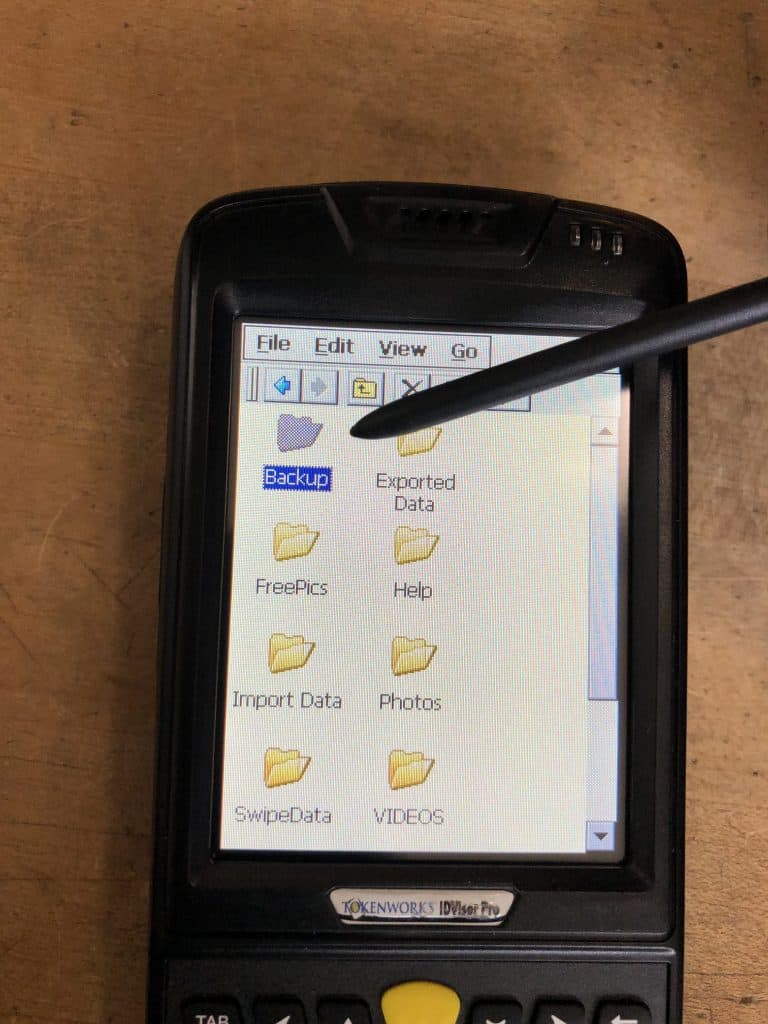
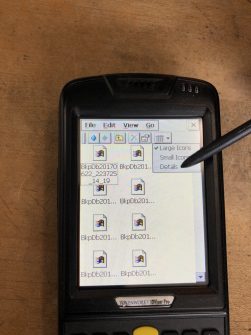
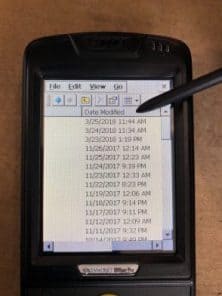
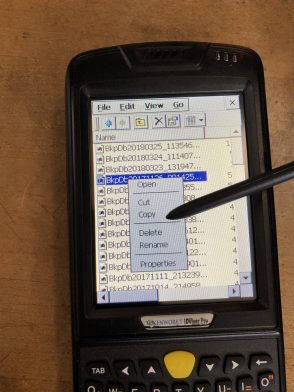
3. After you have sorted the content by details. Scroll all the way to your left using the scroll bar at the bottom of the screen. You will then see a column named Date Modified. Tap on Date Modified until you see the most recent date of your last backup. Scroll back to the right of the screen using the scroll bar. You will then select a backup file 4 rows down from the most recent backup file. Select and hold down that backup until a shortcut menu appears. You will then select copy.
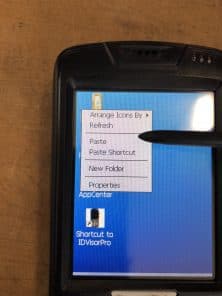
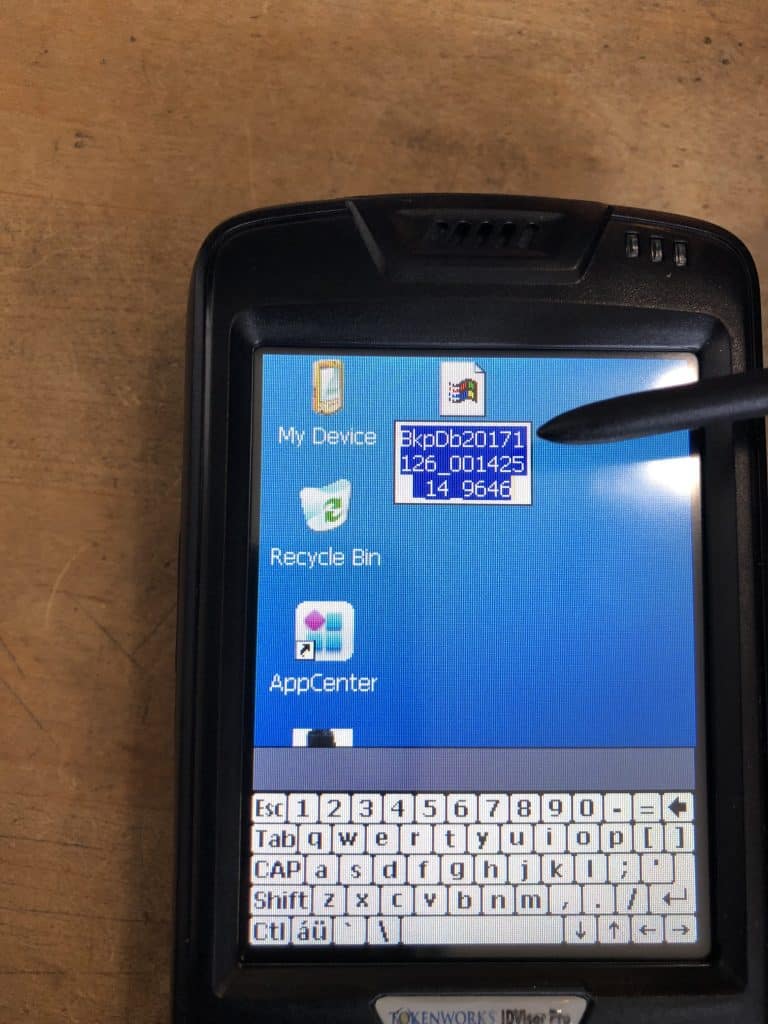
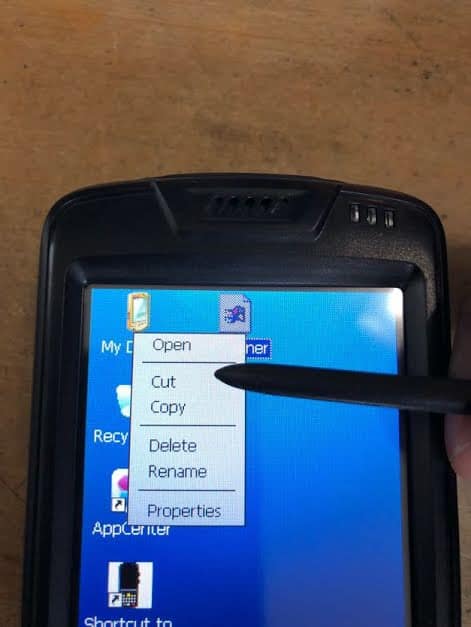
4. After copying the backup file. Click the blue back button until you return to My Device. Once you are in My Device close out of it by clicking the X on the top right of the screen. Once you are back on the startup screen of the device, hold down on the screen until the shortcut menu appears again. You will then select Paste. You should now see the backup file on your screen. Tap on the name of the backup file twice. This will bring up an on-screen keyboard for you the re-name the file. Rename the file IDScanner (case sensitive).

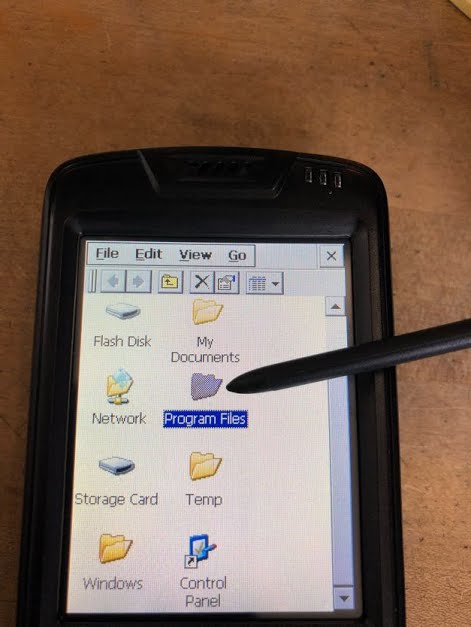
5. Once the backup file been renamed, hold down on the file then select Cut. You will then go back into My Device. In My Device scroll down to Program Files, double tap Progam Files. You will then see a folder called IDVisor Pro, double tap the folder to open.
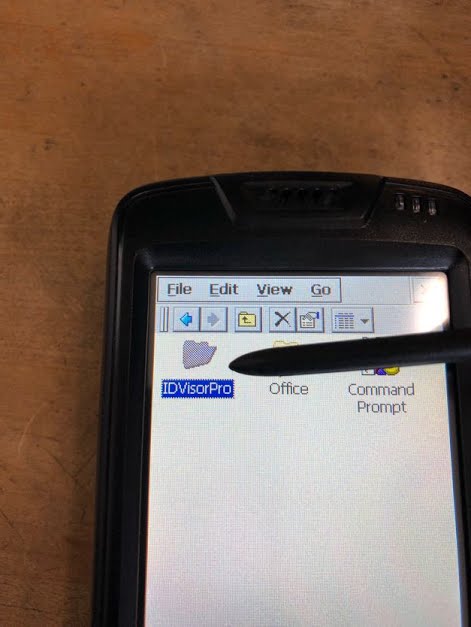
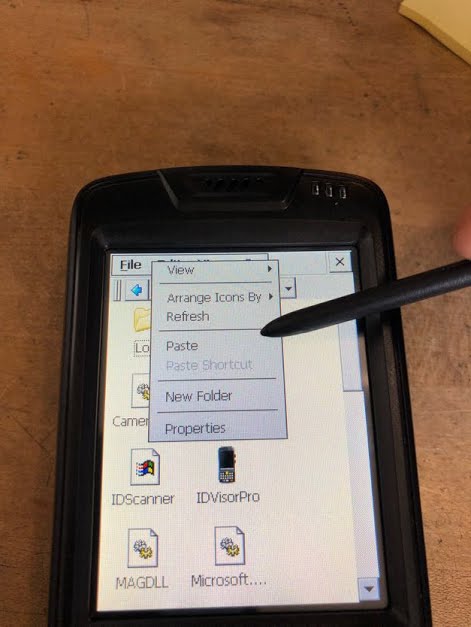
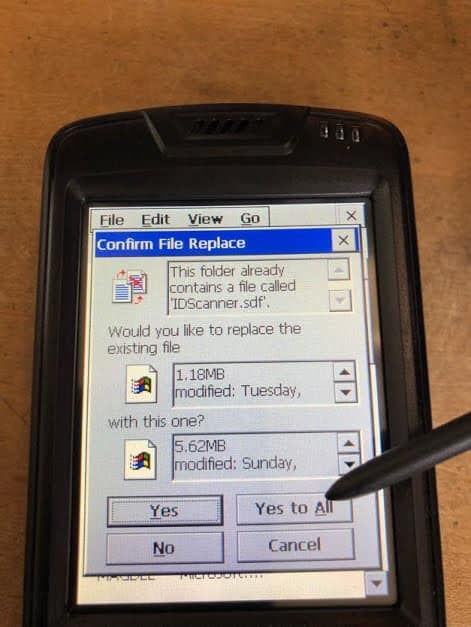
6. In the IDVisor Pro folder paste the IDScanner file. It will ask if you want to replace the existing file you will select Yes To All. Once copied please try to enter the program once again. The new IDScanner file should allow it to load the database as it normally should.
If after trying these troubleshooting steps and the program still persists, please open a support ticket leaving your Name, Name of the Business, Email, and Phone number here.